Slant Six Forum
https://www.slantsix.org/forum/

Covalt - 85 D100
https://www.slantsix.org/forum/viewtopic.php?t=56667
Page 3 of 21

Author:  Rick Covalt [ Tue Jan 06, 2015 5:26 pm ]
Post subject: 

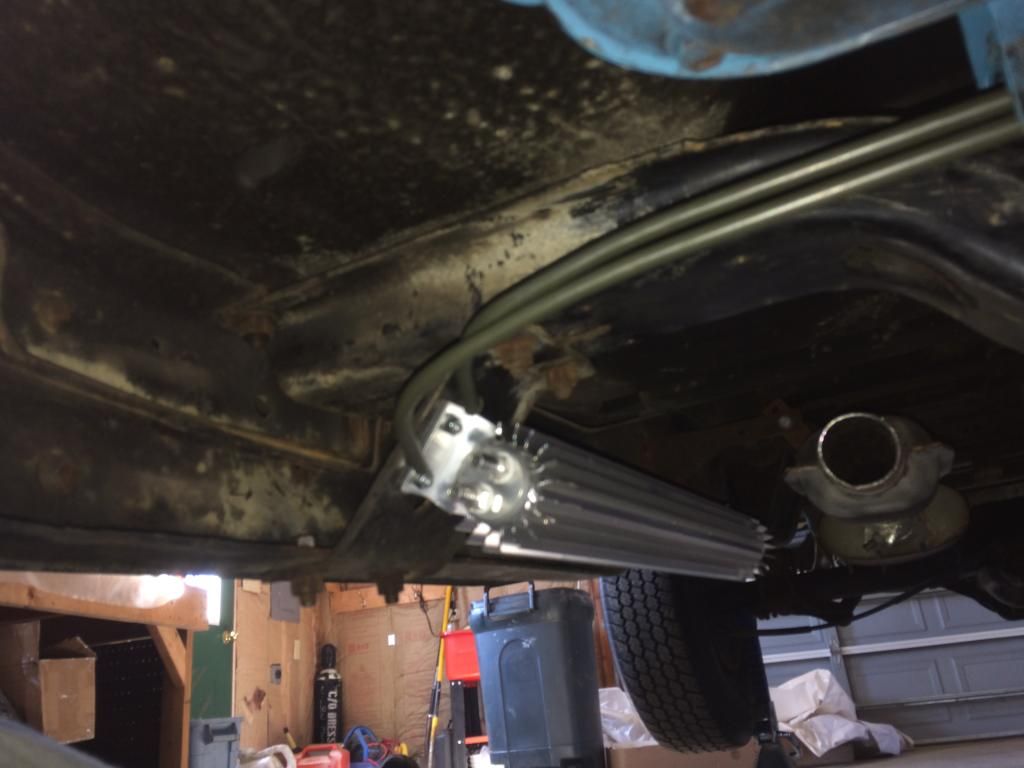
I tried to mount the headers and intake to their permanent dwelling place and I soon realized that I was not going to be happy with them. They fit the truck really well, but the mounting system left a lot to be desired. If I had really paid $600 for them I would not have been pleased.

The problem with them is that they use a thin header flange instead of the 1/2" thick one that would closely match the intake. So what they do is give you a set of specially cut thick washers to take up the extra space difference between the thin exhaust flange and the normal, thick intake flange. Picture this; the washers are @ 1/4" thick and they cut one side of them off, leaving just enough of the washer so that it can not fall off the stud. You have to slide on the header and then the intake and then slide on this half washer and get it turned just right and then slide on the triangle washer and then the bolt. Now imagine getting all 10 of the special washers into place and tightening them up. I worked on this for about 1 1/2 hours and it was obvious that I would never get them all to fit. I tried grinding them down farther , but I could see the hand writing on the wall! I may get 6 of the 10 on but never all 10. Plus I would have to fight this nightmare again if I ever took them off. So I just pulled them back off and cut some 1/4" steel lugs and had them tack welded right to the flanges. Now you just bolt them up like normal. No special washers needed!! Just for the record, these headers still are pretty tough to get all the nuts on, even with my front end still off. Not as hard as installing plugs in a V-8 Monza, but still not much fun. :lol:

Image
Image

I also had the rusted spring perches cut off and had another set welded back in place. Once I get done out front I will be moving to the rear end and installing the 8 3/4 and 3.55 sure-grip.
Image

Author:  Slanteast [ Wed Jan 07, 2015 6:06 am ]
Post subject: 

Hey, I actually added pieces to the stock slant washers. Just on one ear and ground them to the same shape. Worked very well. It took a little while and then after they were all done I found that Hooker had sent the thick half washers that you are describing...DUH. I would have still made them the same for cosmetics but at least I could have used them for the added pieces.
I also used 3M Spray adheasive to keep them in place while tightening them, they of course they want to rotate on the stud with one side heavier. They only need to stay put long enough to snug up finger tight.
Cool project, enjoy following the progress.

Derek

Author:  Romeo Furio [ Wed Jan 07, 2015 4:24 pm ]
Post subject: 

The old Direct Connection 6 into 1 had plain old 1/4'' nuts welded just like your set up Rick. Lookin' good

Author:  Rick Covalt [ Wed Jan 07, 2015 5:38 pm ]
Post subject: 

Quote:
The old Direct Connection 6 into 1 had plain old 1/4'' nuts welded just like your set up


I remember that now that you said it! :lol: :lol:

Author:  slantzilla [ Wed Jan 07, 2015 10:05 pm ]
Post subject: 

I had a J&R that had the nuts welded on it too. I believe they built the Mopar headers.

You are making huge progress Rick. You should be able to knock all Ryan's stuff out in no time. :D

Author:  Rick Covalt [ Thu Jan 08, 2015 4:09 am ]
Post subject: 

Quote:
You should be able to knock all Ryan's stuff out in no time
Wow! I think my back is hurting !! Guess I won't be able to work on his stuff! :lol: :lol:

Author:  Romeo Furio [ Thu Jan 08, 2015 7:15 am ]
Post subject: 

Yep J&R made the old Mopar headers.

Author:  Rick Covalt [ Mon Jan 26, 2015 1:02 pm ]
Post subject: 

Image
Cleaned up and painted the the heavy duty transmission I got from Charles Brooks and added the Gearhead kick down cable. Trans has v-8 internals. I hope to have this swapped out this week and then move on to the rear end.

Rick

Also found out the hood I was going to use was rusted underneath pretty bad. So I will likely just buy a new one.

Author:  Rick Covalt [ Tue Jan 27, 2015 5:26 pm ]
Post subject: 

Just as a reference, I bought a new hood for $199, and a new fender for $79 with no shipping charges. I didn't think that was bad. Yes I am sure it came from far yonder land of crappy parts, but I'm just glad I can still buy them.

Rick

Author:  Rick Covalt [ Wed Feb 04, 2015 4:40 pm ]
Post subject: 

I got the old transmission out on Saturday, but the new one will have to wait a week or so to go back in. My back is giving me fits this week, so no lifting for a while.

I bent new transmission cooler lines and ran them to the back and across to the passenger side where I am mounting a 24" aluminum dual pass cooler.
Image

Underside of new hood was painted as well as the inner fenders , radiator support and engine side of the fenders.
Image
Image
Image

Since the motor is only setting on 2 motor mount bolts, I am just going to lift it out and bolt the transmission to it out on the floor. Then it can all be slid back into place without wrestling the tranny underneath of the truck. That will also make it very easy to paint the firewall to match all the newly painted items!

Rick

Author:  Rick Covalt [ Sun Mar 01, 2015 4:43 pm ]
Post subject: 

I did pull the motor as I mentioned before, and mounted the transmission and some other items while it was out. With no front end on this was a no brainer. I cleaned up the Heater box and the Brake booster and gave them a good coat of black paint.
Image
Image
Then I cleaned up the firewall and painted it before the engine makes it's way back between the frame rail. Also with the engine and transmission out was the time to finish replacing the brake line that ran from the front back to the rear end. All of my 30 year old brake lines looked great and they would likely have been fine for another 30 but I feel better having them all done now.
Image
Image
I mounted the engine back in and got everything bolted down tight. Then I mounted the new 24" dual pass tranny cooler along the P/S frame rail. I never liked messing with the cooler lines along the engine and up to the radiator, and this will eliminate that.
Image
Image

Also when I had the 3" mandrel 45 degree outlet welded onto my header I was doing so while everything was bolted to an engine laying out on the floor. I misjudged the angle slightly and the pipe would have been pretty close to the factory shift linkage for the transmission. If you look at the black bracket mounted to the side of the tranny, I cut 3/4" out of that and moved it up that far. That also meant drilling two new holes on the frame side and moving that bracket up 3/4" also. That should give me ample room for my exhaust
Image
I did install all the pulleys, alternator, fuel pump,and got the distributor in and all timed up. Another day or so and I should be ready to start putting the sheet metal back on and running the rest of the wiring. More to come.
Rick

Author:  Rick Covalt [ Sun Mar 01, 2015 5:23 pm ]
Post subject:  Wiper arm chages

There is probably no one that has had an old Dodge truck that has not had to replace the 30-40 year old wiper arm grommets. I always hated that job and I do not think the current grommets are nearly as good as the factory ones were. I decided that while my truck was wrecked and down for a rebuild, I would fix this issue, hopefully once and for all. The problem with this set up is that it is difficult to get everything back into the cowl after the new bushings are all in place. And I have not been able to get them in place while still in the cowl. Anyway here is my answer to the problem.

First cut one of the strips of metal out between the holes in the top of the cowl. This gives you more than plenty of room to get everything in and out easily. ( Yes the factory could have done this) The area is still plenty strong with out it.
Image
Then onto the brackets! Here is what you are starting with.
Image
Image
There are 4 plastic inserts and a corresponding stud to each one. The studs on the wiper arm piece are removed by cutting the head off of them and then driving the rest of the stud out of the steel arm. The arms are is plenty thick and I tapped each hole for a 3/8" bolt.

I next went to the hardware store and searched for nylon bushing and they happened to have an almost perfect size bushing for what I wanted to do. I got the bushings, bolts and a nylock nut for each one I was replacing. I think the bushing outside diameter was .562 I used 1" long bolts and used the thin nylock nuts
Image
The bushing is a 3/8" ID matching the bolt, and it is almost the perfect size OD of the hole that is left when you take out the plastic insert. Just take a small round file and go lightly around the hole. I made mine so the the new bushing pushed in pretty tightly. The bushings are about 1/2" wide and I put mine against a sanding wheel and ground them down to about a 1/4" width. Thread your bolt into the arm, install a flat washer, then the arm with the bushing, another washer on top and the Nylock nut. Draw it down to take all the play out and you end up with this.
Image
Image
Image
Of course I put some good grease on all of the pivot points before I assembled it. 3 of them are done the same. One of the studs is crimped into a thinner bracket arm and it is too thin to thread. So I drilled it out and got a thin jam nut from the hardware store and bolted the bolt tight to the arm. Then I installed the rest of it the same. Now you can easily remove this assembly, plus you can move it around without worrying that the new grommets are going to fall apart before you get it back in the truck. I will update on how this works in real life as soon as I get the truck back together. Hope this helps someone.

Rick

PS. Even if you continue to use the same factory type grommets, save yourself a lot of grief by just cutting out that little piece of metal. You'll be glad you did!

:lol: :lol:

5/17/16 Update - This works like a charm. I drove it in the rain 5 or 6 times and it works exactly like it should. no noises, no clunking, and no worries about it falling off. It takes a little bit of work but in a hour or two you can be done with it for good.


12/30/16 Did my second truck today. Linkage was already out so it only took about a hour to do it.


7/29/23- 7 years out and it still works like a charm.

Author:  ProCycle [ Sun Mar 01, 2015 7:49 pm ]
Post subject: 

Quote:
...Then I mounted the new 24" dual pass tranny cooler along the P/S frame rail. I never liked messing with the cooler lines along the engine and up to the radiator, and this will eliminate that.
Image

I tried one of those dual pass oil coolers on my Corvette. Real disappointed. Mine was the 30" version and was used as an engine oil cooler. Only dropped my oil temps by about 10-15 degrees. I had it right up in the intake snout of the front bumper. I hope you have a trans oil temp gauge. IMO those alloy oil coolers are just for show.

Author:  Rick Covalt [ Mon Mar 02, 2015 12:33 pm ]
Post subject: 

I may have to install a temp gauge anyway. I figure the temp of the water in the radiator is 180-190 degrees and this will have ambient temperature air running the length of it so it should be Ok. Then again I may be totally wrong! It would not be the first time. :lol: :lol: I'd be interested if anyone has more info on them.

Rick

Author:  Romeo Furio [ Mon Mar 02, 2015 3:43 pm ]
Post subject: 

For a daily driver you will be fine.Even towing. Did you do a deep pan too ?

Page 3 of 21 All times are UTC-07:00
Powered by phpBB® Forum Software © phpBB Limited
https://www.phpbb.com/