Merry Christmas 2009!
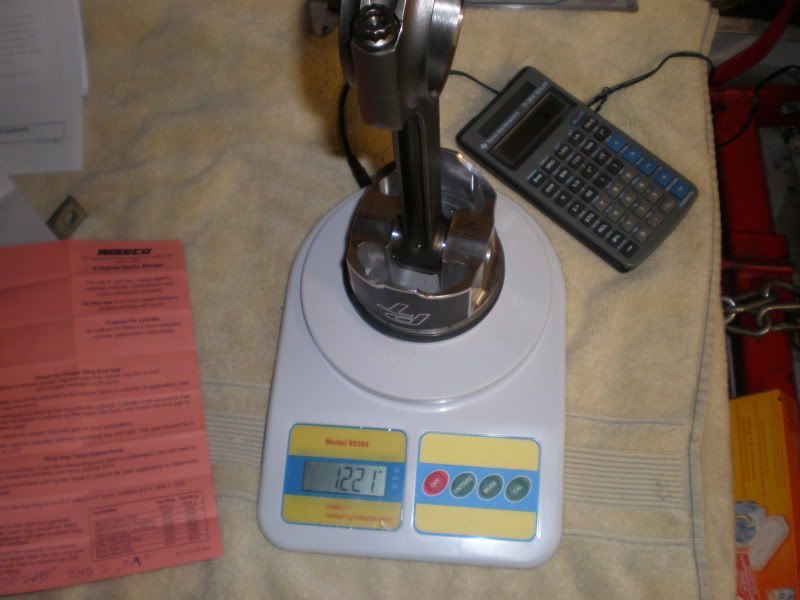
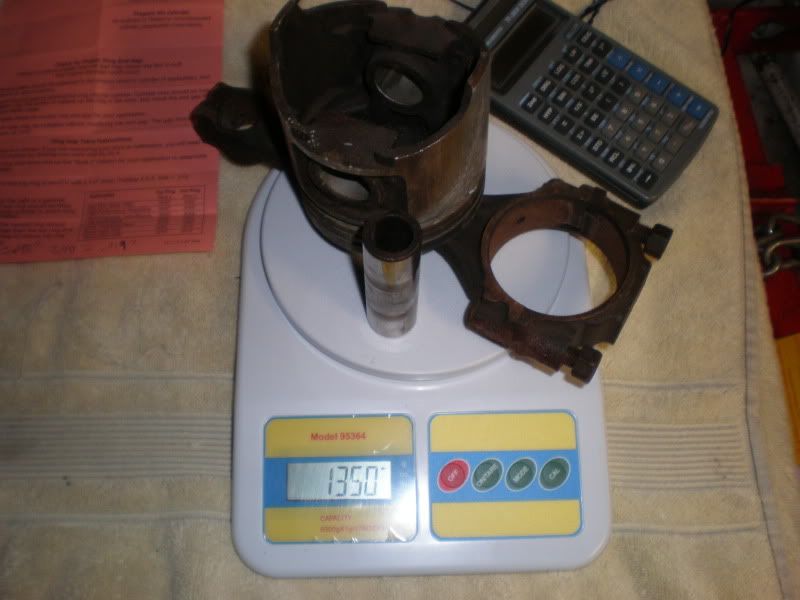
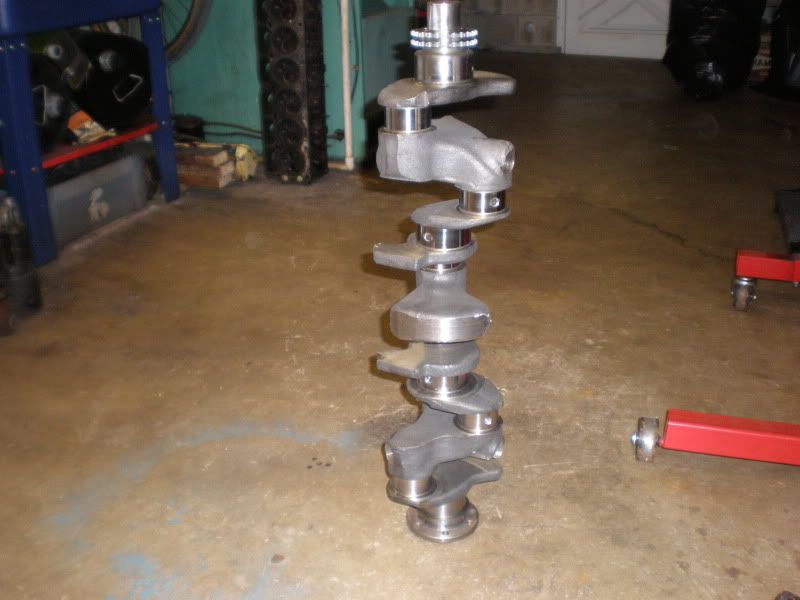
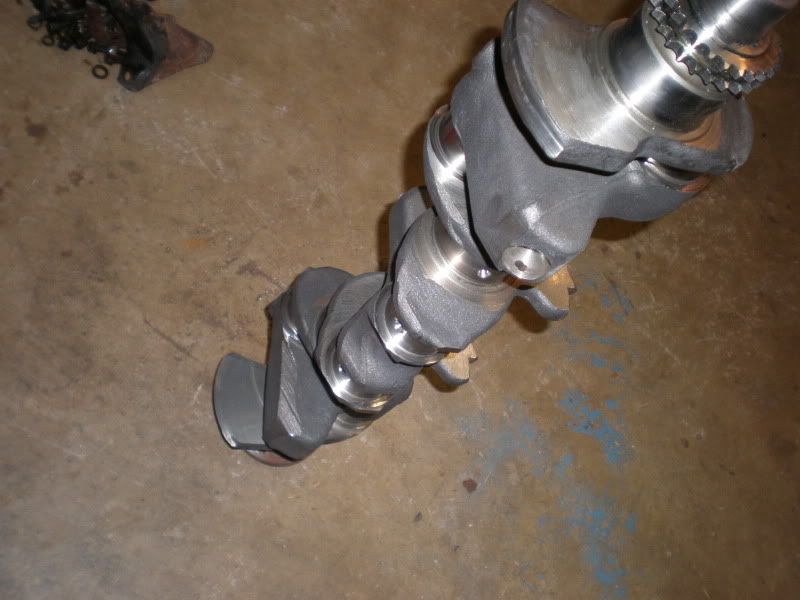
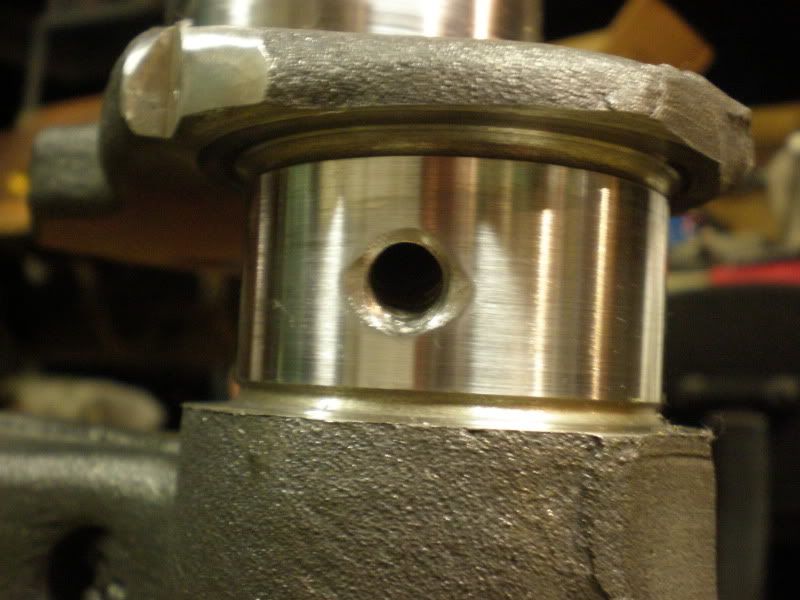
I got My crank, rods, pistons, Balancer and Flexplate Back from the Machine shop -
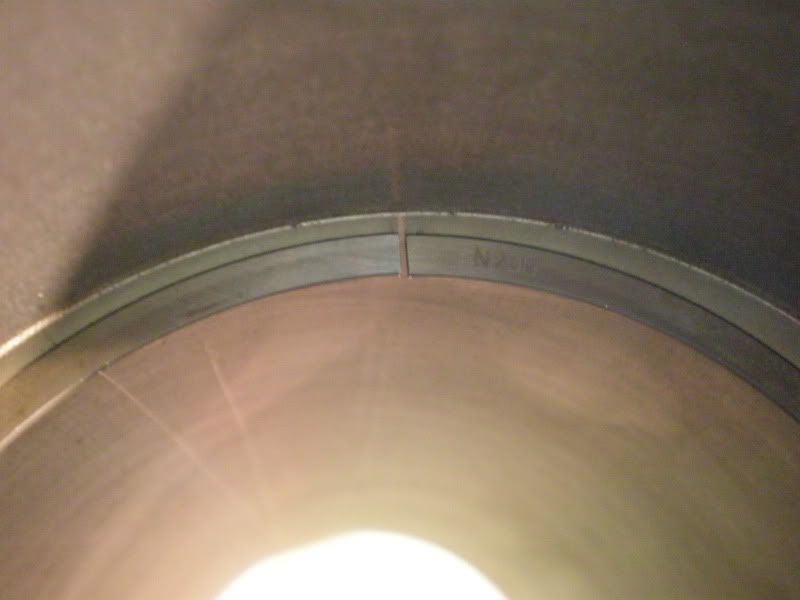
For the Crank the journals will be at the stock size - Just a little hot tank, polish, and balance.
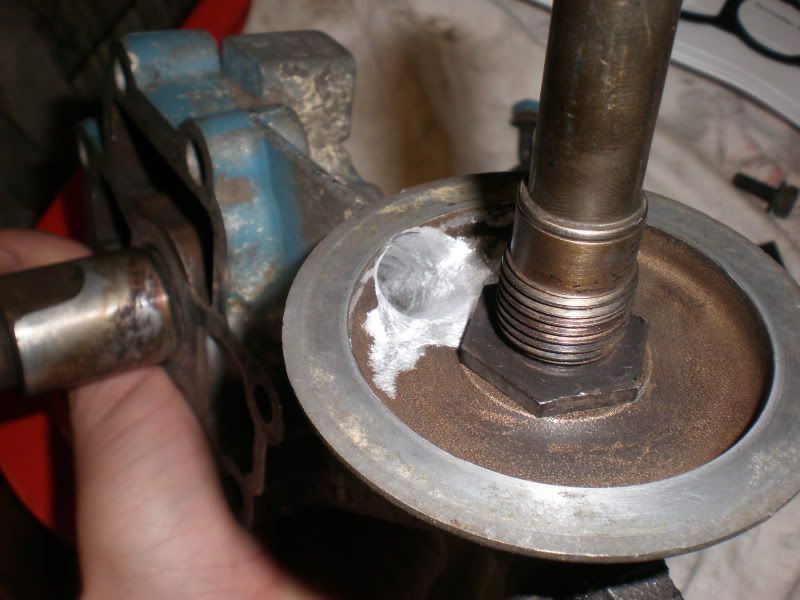
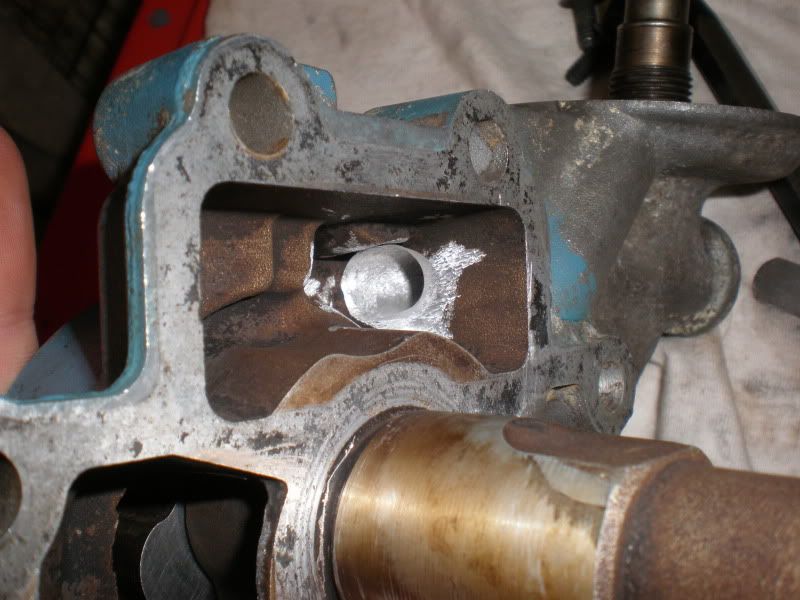
I have started a bit on the short block assembly - I am waiting on my quart of Glyptal.. for painting the inside of all the block's oil gallery return surfaces. I also did some extensive porting / massaging on the oil pump casting housing. Hopefully by the end of the week I will have an assembled short block minus the tin. What a great Christmas gift to me YAY!
Detailed pics Below.
Greg
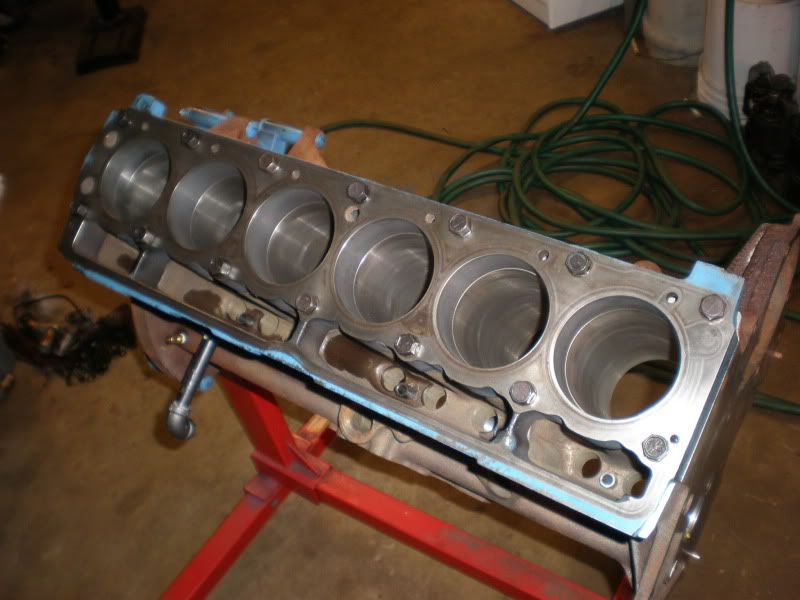
Block With New Plumbing
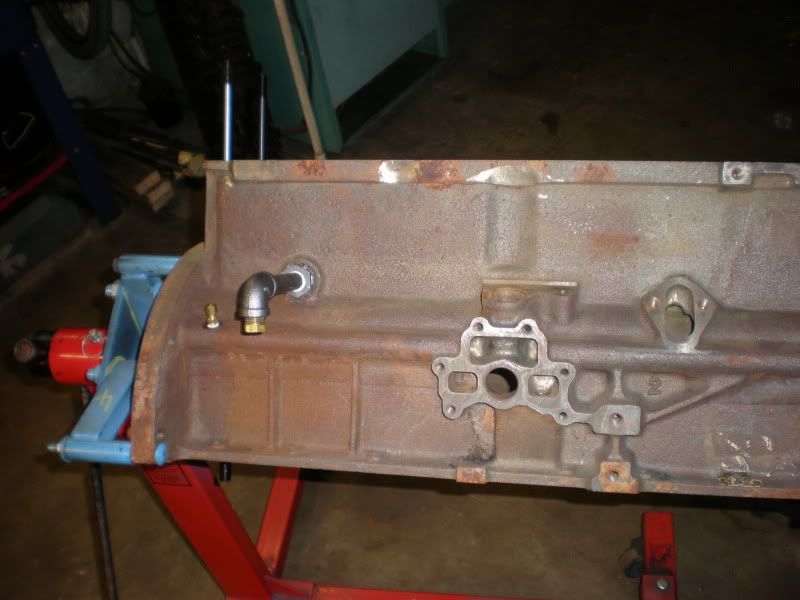
Freeze Plug Side

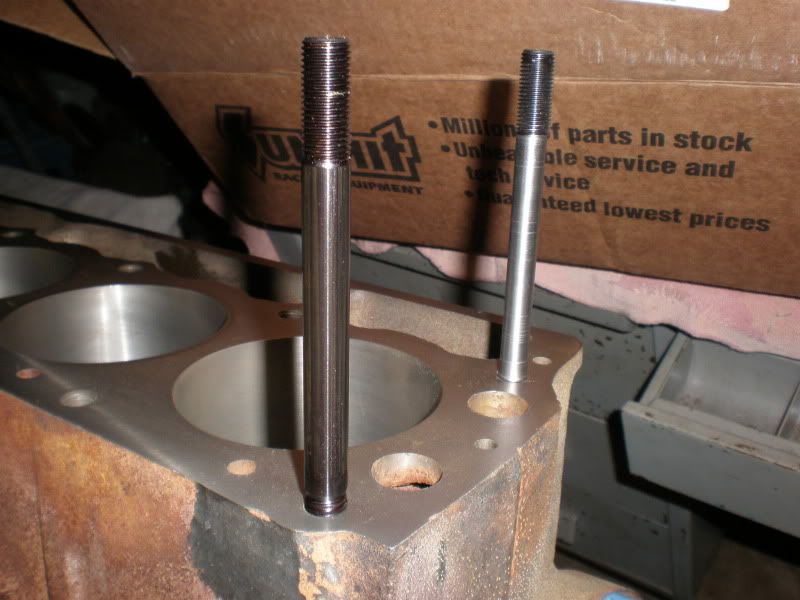
Cam Bearings and Mains installed - Also Some of the ARP Studs
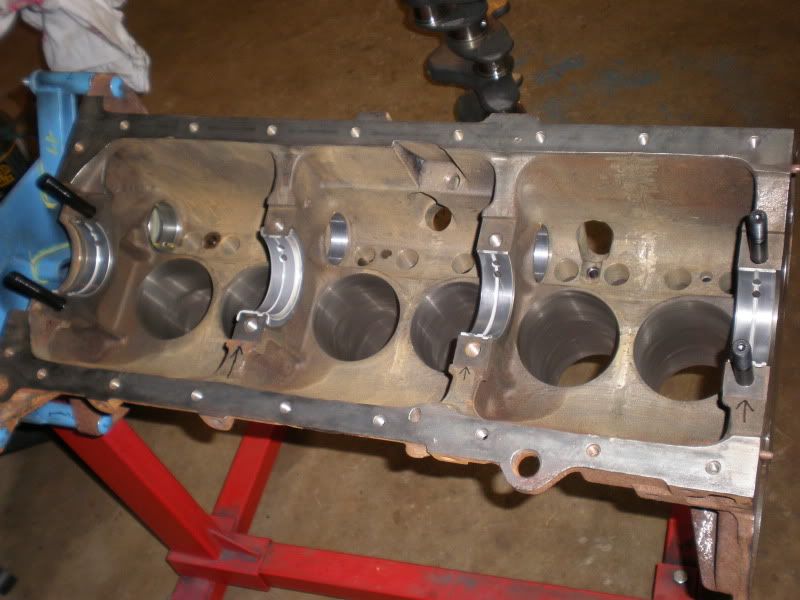
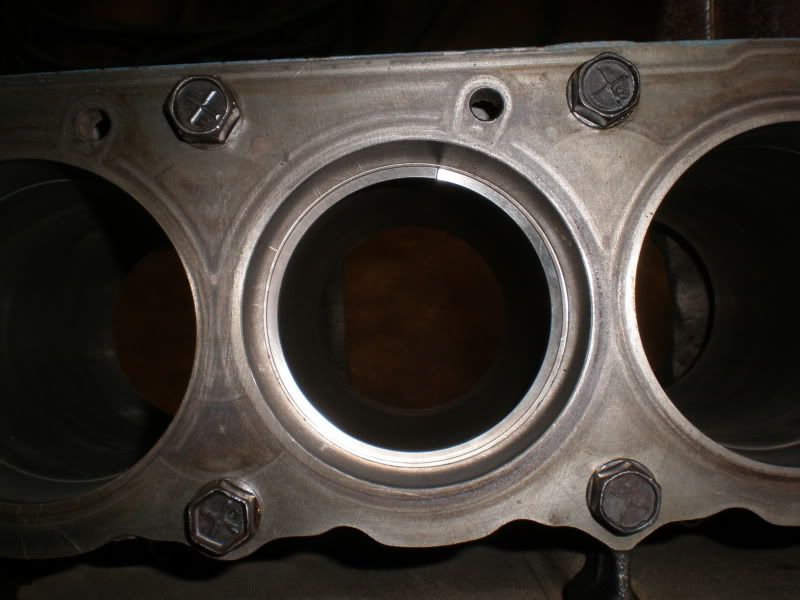
I cut one of the ARP head studs Back to the Stock Bolt Dia. and place it in the Rear whre the oil has to flow around it to the rockers.
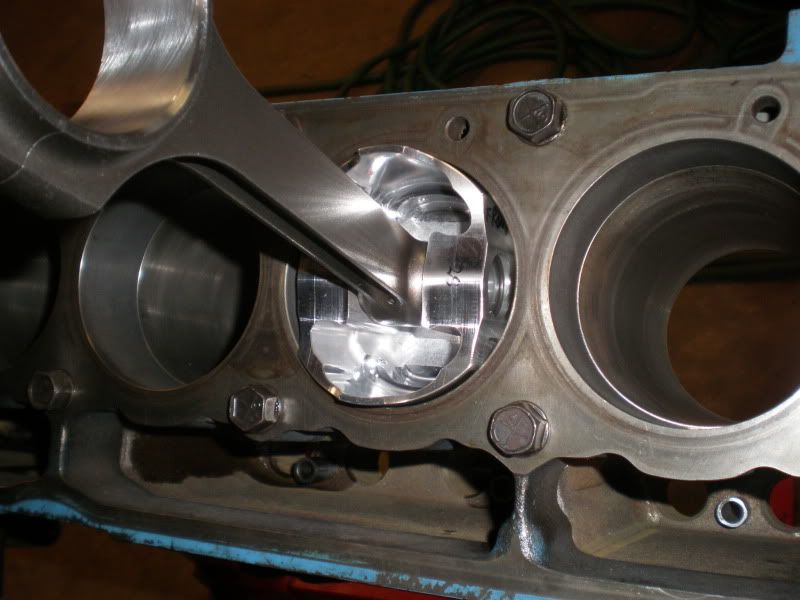
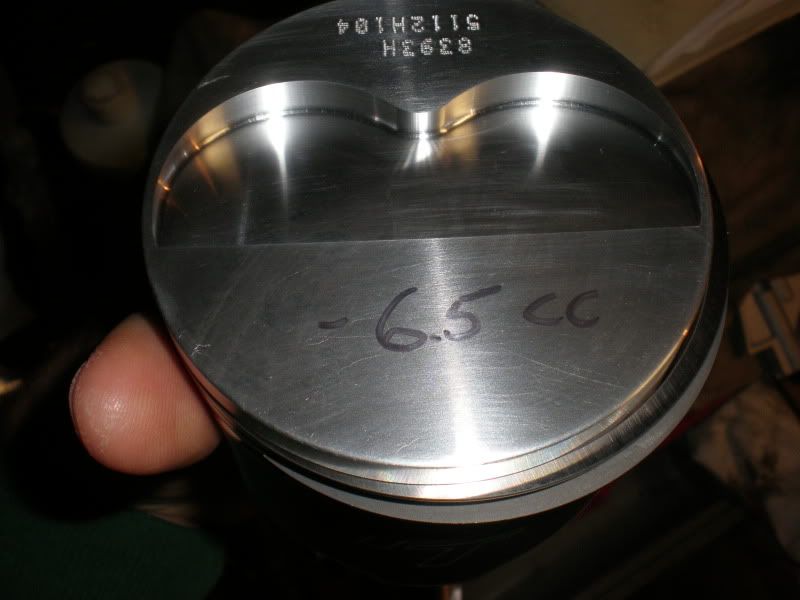
6.5 cc's on rthe Valve reliefs
Thanks for the romac Lou!
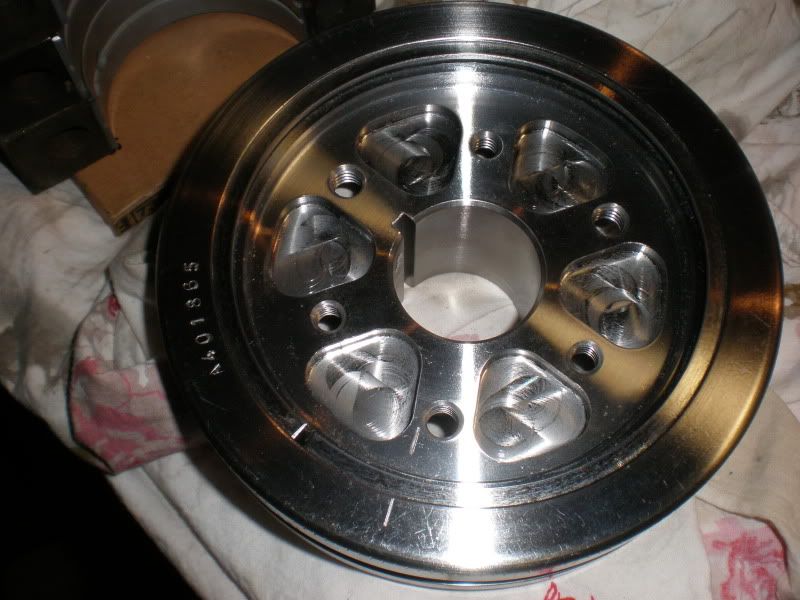
Crank's Back Shiny, polished and Balanced
Ain't She Purdy?
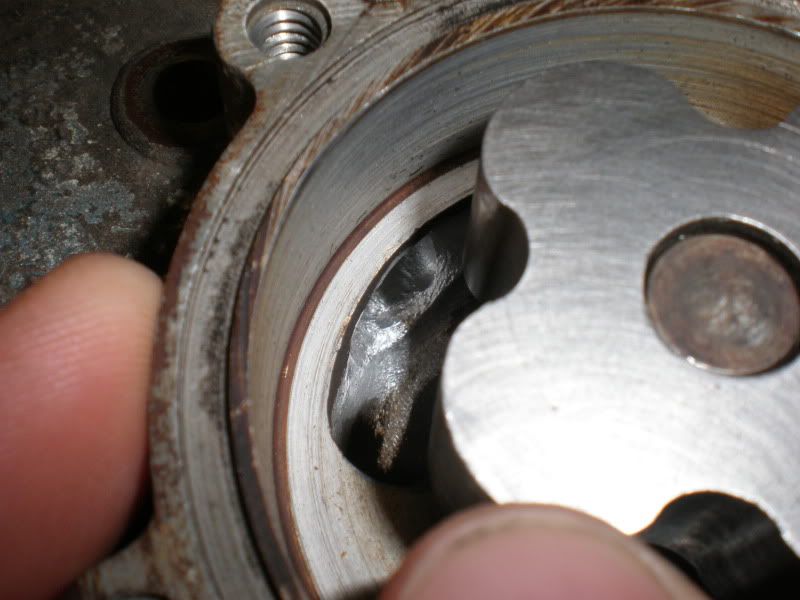
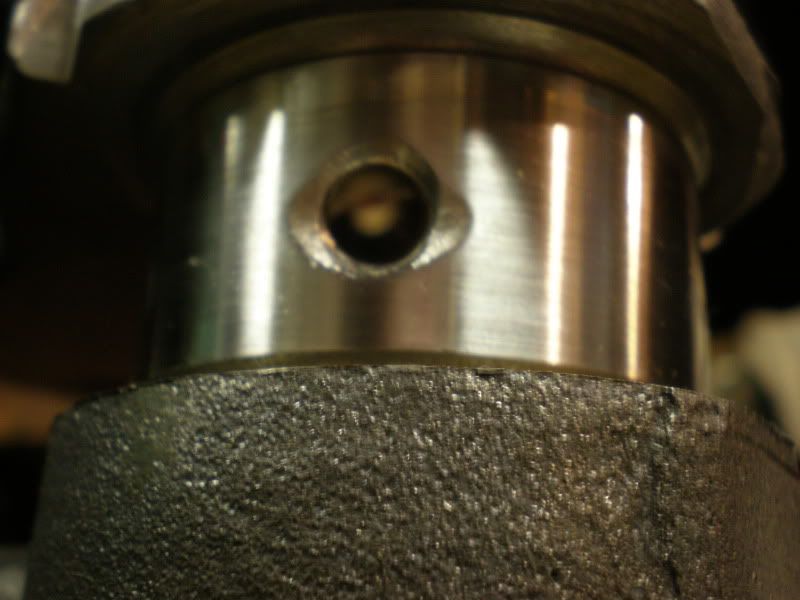
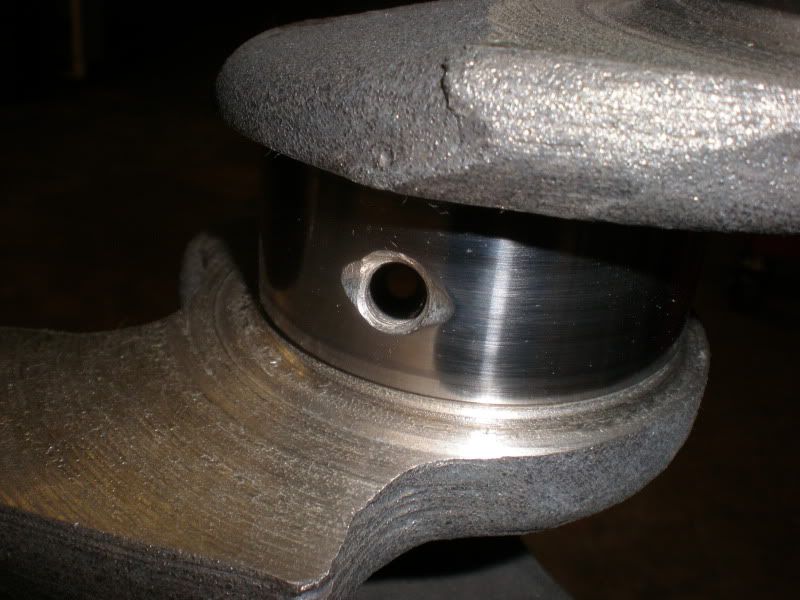
Improved oil flow to rods and mains
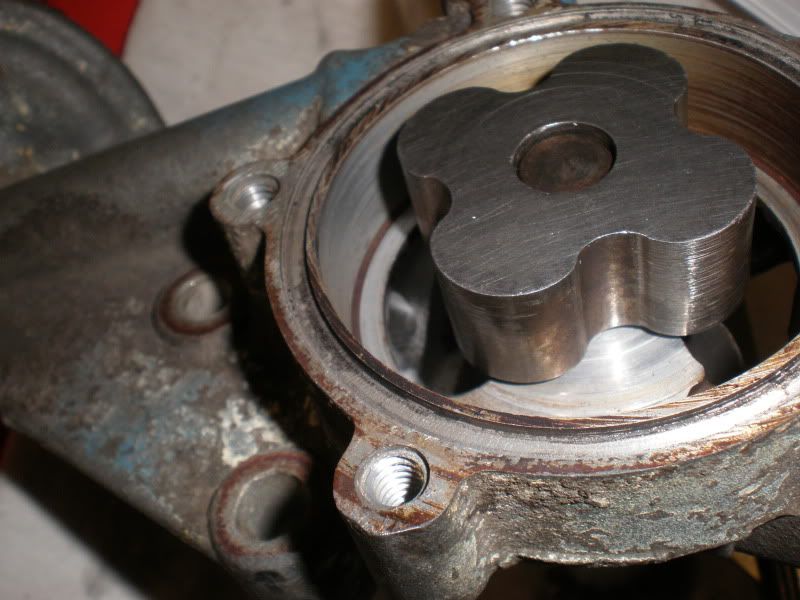
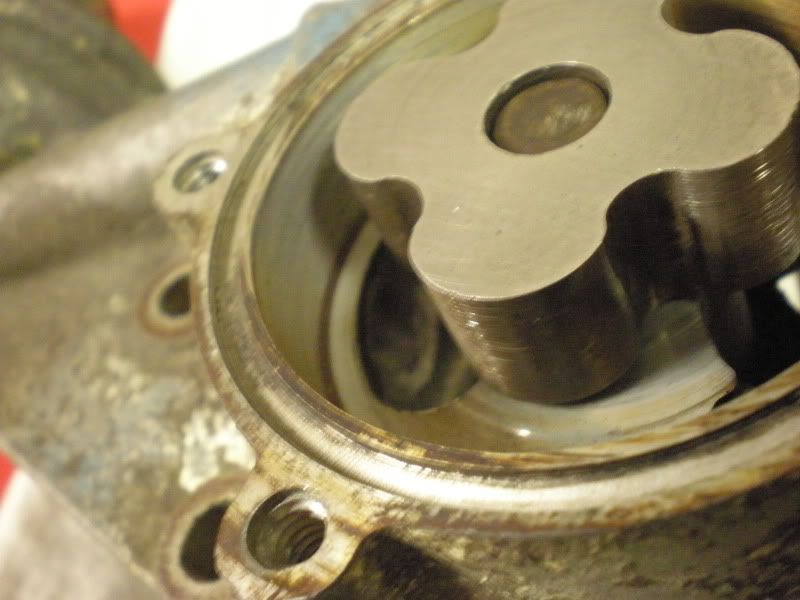
Blue printing a Stock Oil Pump - Aluminum Casting
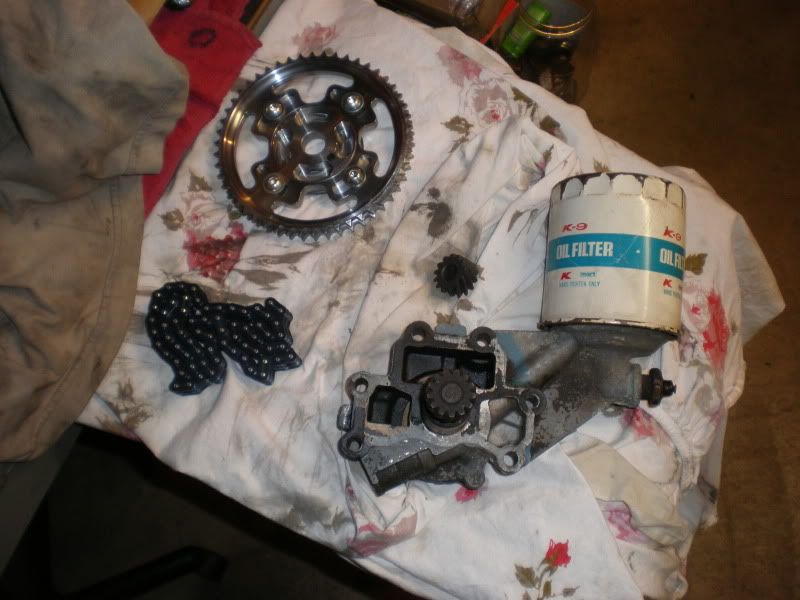
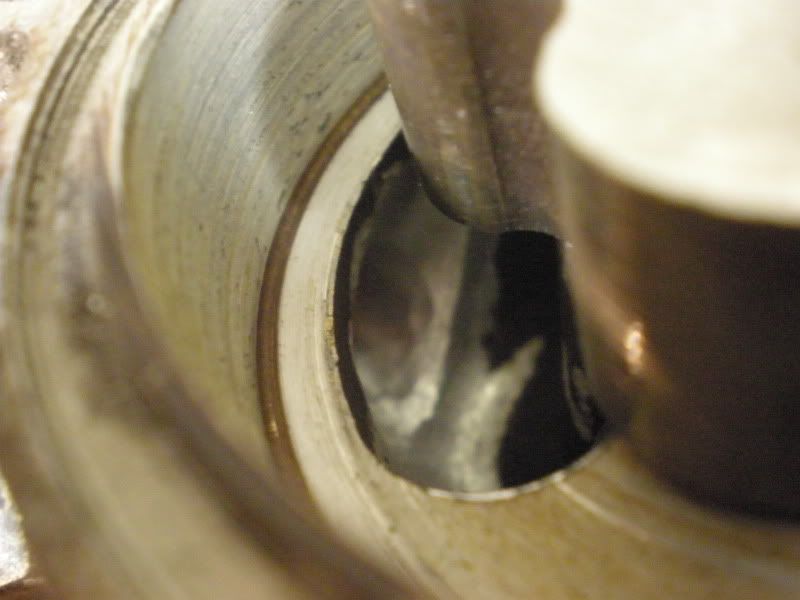
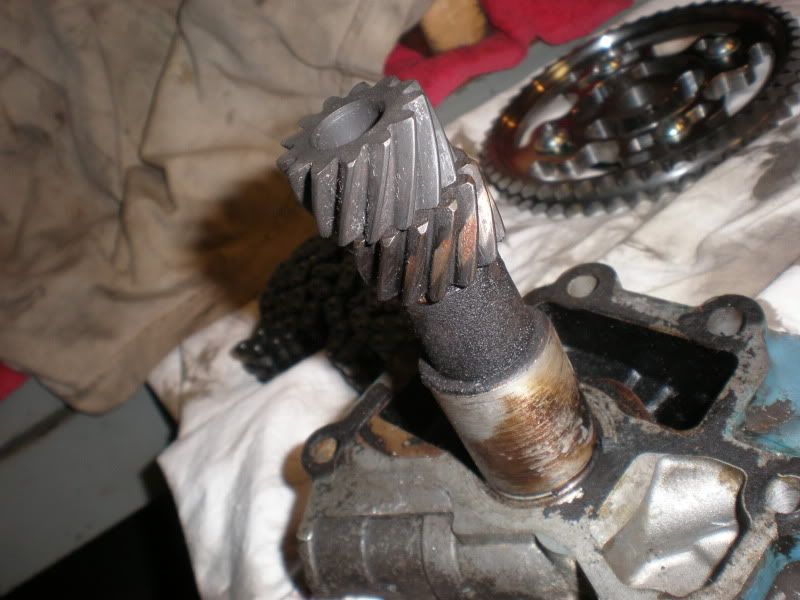
Doc's Hardend Gear will Replace this swiss Cheese one.
Gratitous Oil Pump Casting Porting Pics!